11.8 Rack, diagram and blend-array blocks
A rack block (+ Rack ▾) prints a front elevation: the U column with U1 at the bottom, a block per mounted device labelled with its slot span, what is standing on a shelf, and the rack’s name and 7/12 used over it. It is drawn as vectors on screen and on paper — a rack is straight lines and short labels, and an image of one is fuzzy at exactly the size a rack is read at — at the proportions a rack really has, so a 12U cabinet comes out about square and a 42U one nearly four times taller than wide. Resizing the frame never distorts it; the elevation is fitted inside whatever aspect you drag.
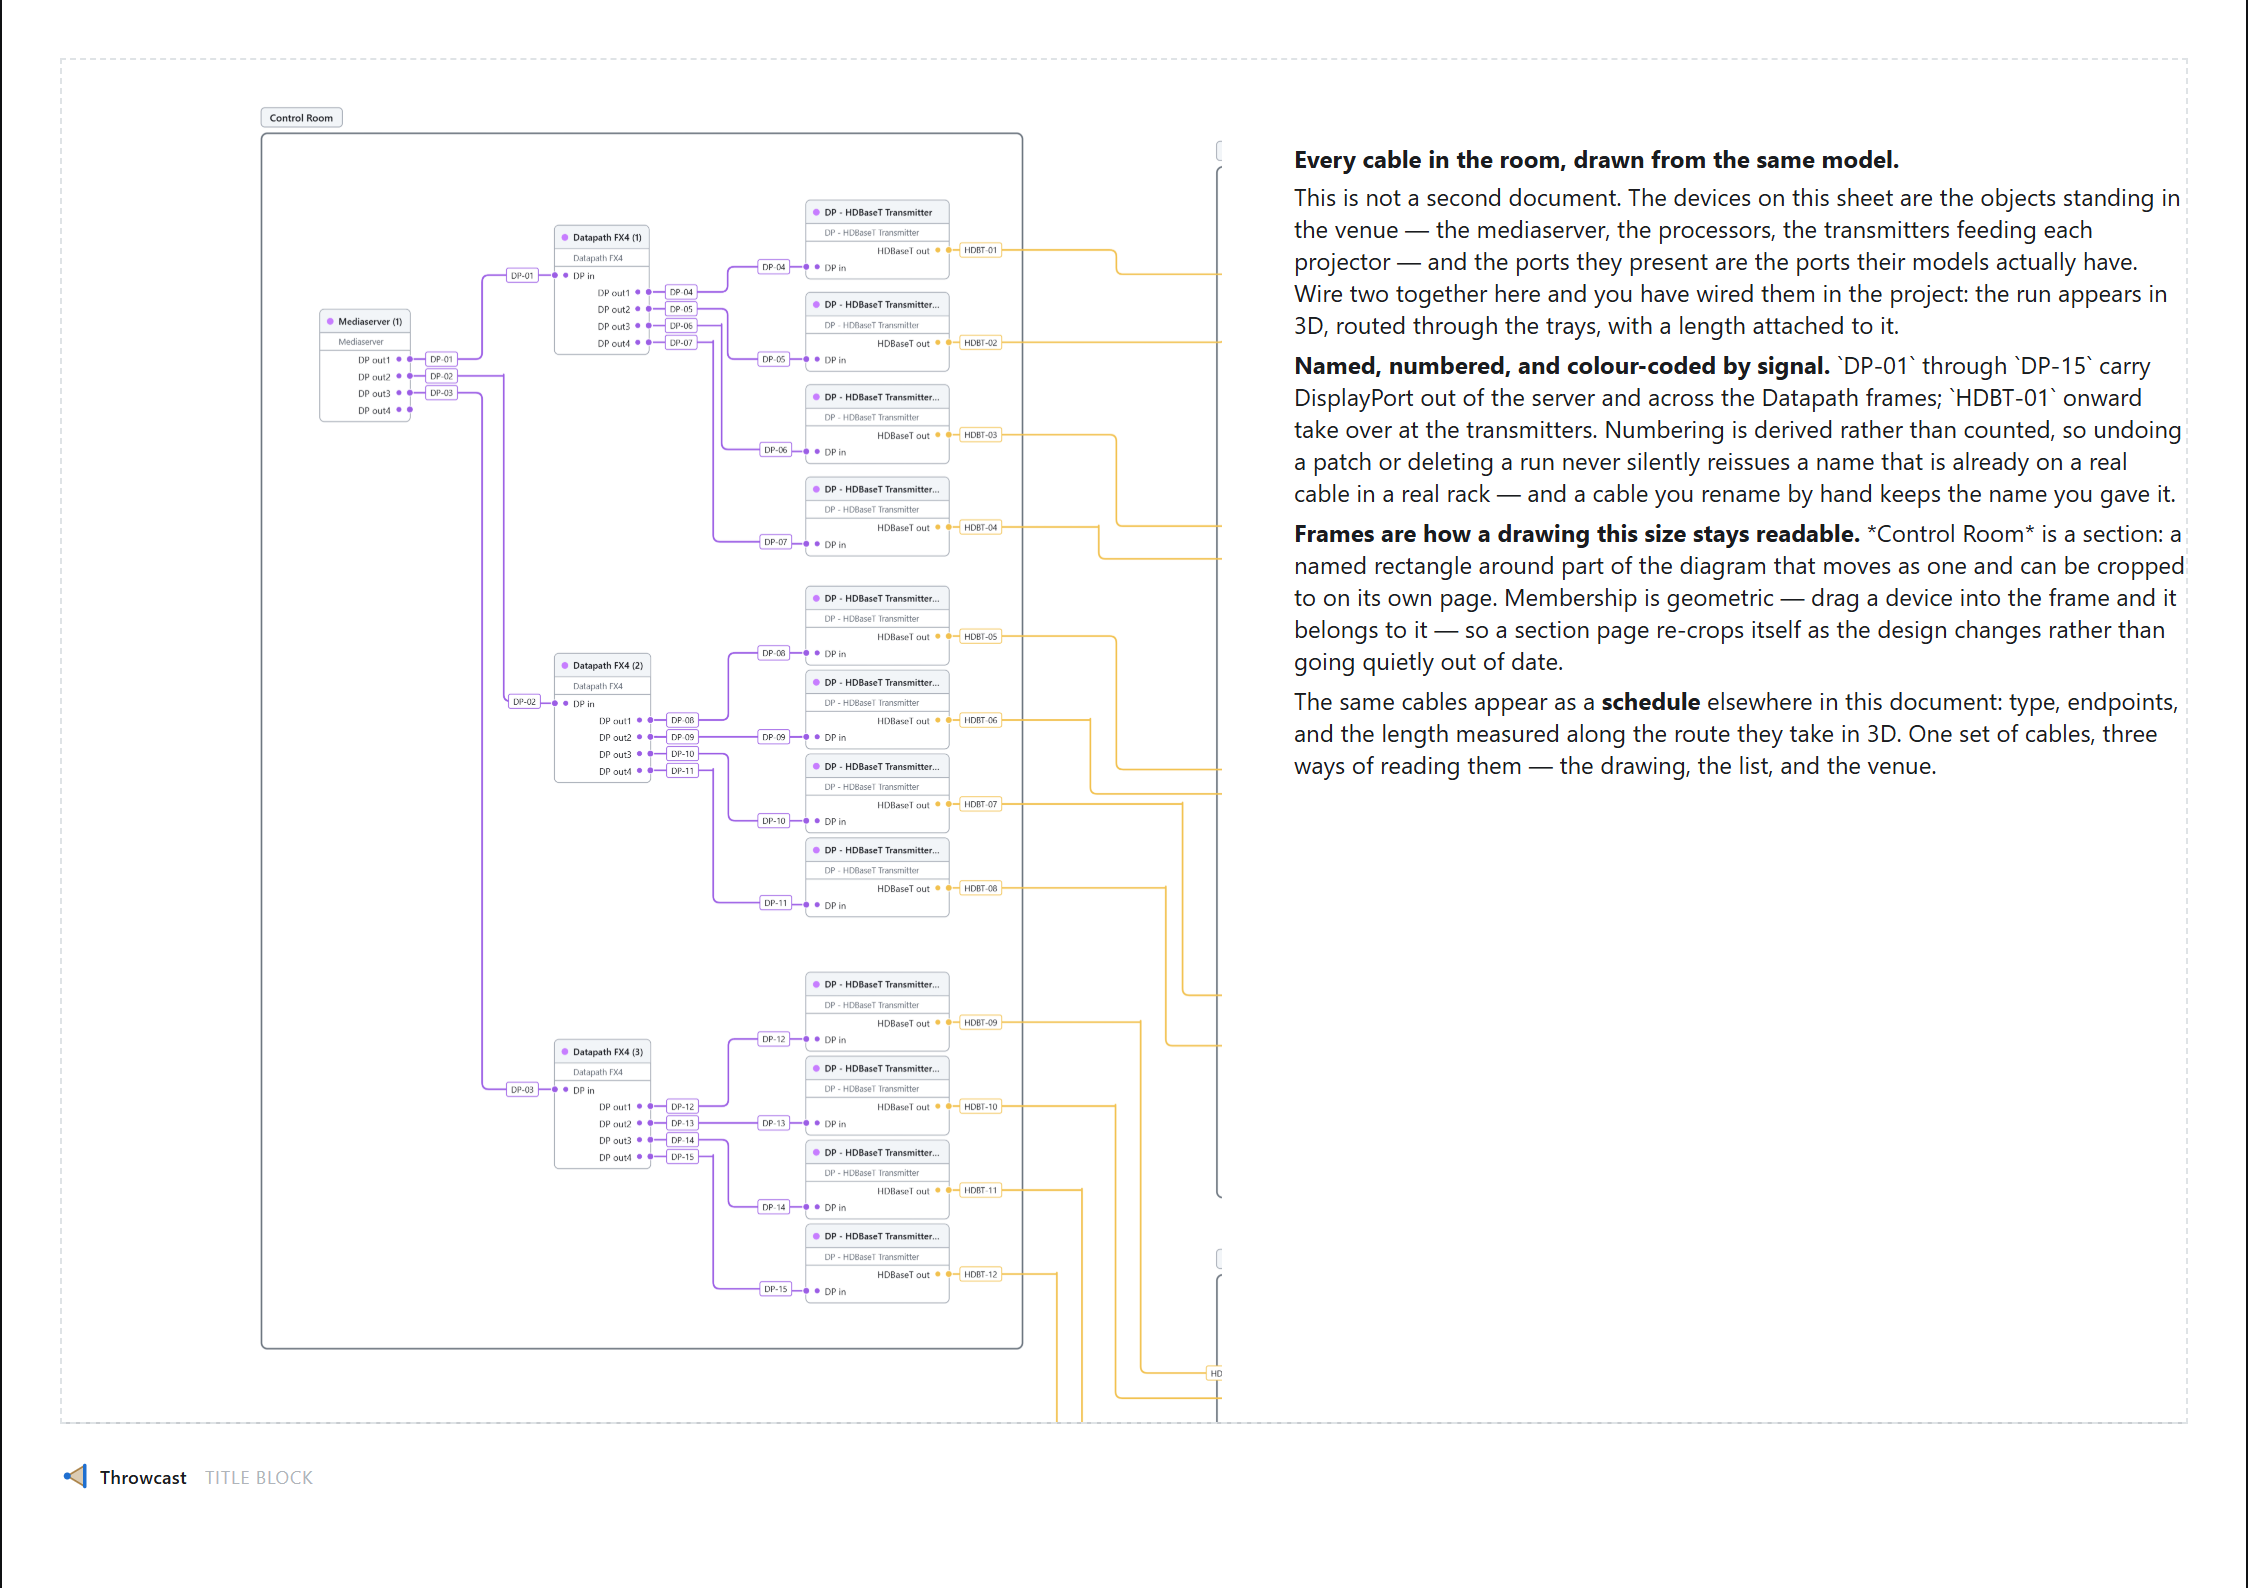
A diagram block (+ Diagram) prints the signal diagram — the whole drawing, or one named section. Because section membership is geometric, a section block re-crops itself as devices are dragged into and out of the frame: the crop is the query. This one is a photograph rather than vectors, because the picture is the diagram’s own layout and a second implementation of it would be a second diagram free to disagree with the one you arranged. It is photographed from its own offscreen copy in a paper palette, so a report exports with the Diagram tab shut and never carries your pan, zoom or selection onto the page. Like a 3D view it shows a cached picture with a stale badge, and the PDF re-renders regardless.
A blend-array block (+ Blend array ▾) reports one array
as two stacked tables. Members lists its projectors in lattice order — so a wall
array reads left to right on the page because that is how it stands in the room — each with its cell
(C2 · R1 in a grid, #3 round a ring), throw, image size, px/m and
incidence; a machine hitting nothing says no target rather than reporting a throw of 0.00 m.
Overlaps gives the seam between each adjacent pair: the metres and per cent of the
planar approximation, beside the true keystone figure (§5.5). Either half can be switched off in the
inspector, and the survivor takes the caption.
A throw distance and an overlap are measured against whatever surface the beams actually land on, so a blend-array block reports what the rig is doing rather than what it was set up to do — and the difference between those two is the reason to put one on a page. Like a schedule it is live, with nothing to go stale.